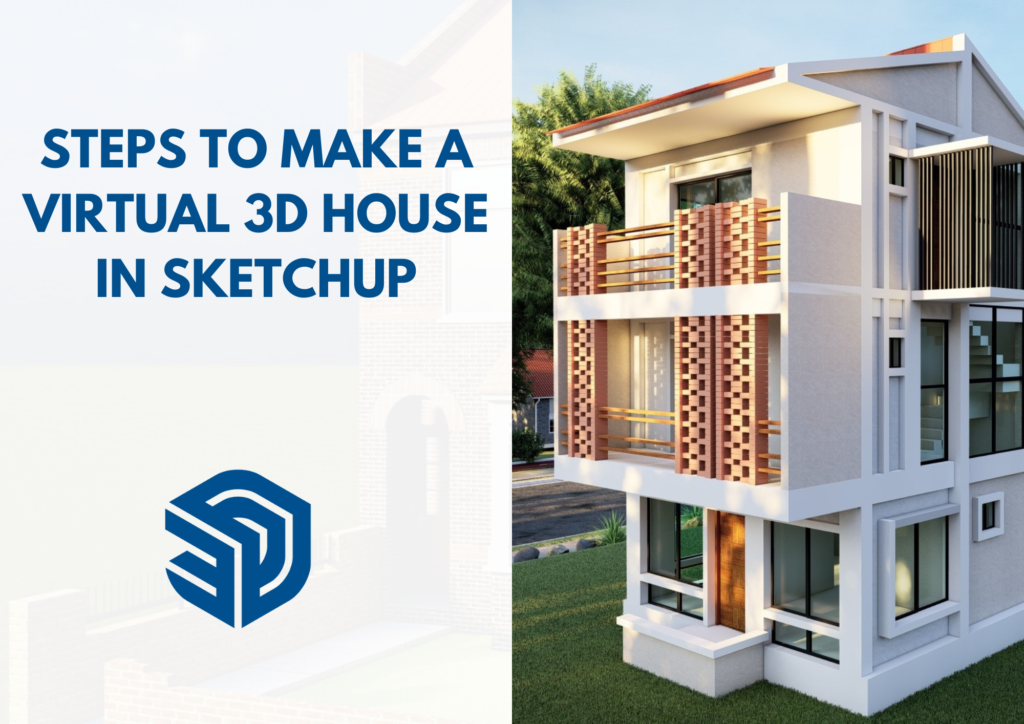
To make a virtual 3D house in SketchUp can be tricky but not hard. You might have a dream home in your mind. It’s pinching all through the months how your dream home will look; you wish you could see it before actually building it!
Yes, this very thought and desire triggered the programmers to make some imaging software to realistically visualize your home. But it’s not just that easy to visualize your own house. There are some certain experts who do this as a profession. The professionals, like architects and 3D visualizers, are included in the list.
You have to go through some very specific steps to make your house actually visible before it gets built. But before jumping into the steps to make a virtual 3D house in SketchUp, we should know how many software programs there are to give you a realistic appearance of a house.
The 3D software list to make a virtual 3D house:
- AutoCAD 3D
- Google SketchUp
- AutoDesk Revit
- ArchiCAD
- Blender
- 3ds max
- SolidWorks
- Autodesk mudbox
- Maya
- Autodesk Inventor
These are the famous 3D modelling software programs and are widely used by expert professionals. Here are some rendering software programs that are also used for rendering to give the model a realistic feel.
- V-Ray
- Lumion
- Cinema 4D
- Unreal Engine
- 5D
These software programs are game changers in the 3D rendering world for both professionals and homeowners.
Here are some mobile and tablet apps that added a different dimension in making a virtual 3D house. These apps are designed to save time for architects by having some ready elements to use in making a virtual 3D house:
- Morpholio Trace
- Home Design 3D
- Planner 5D
- Floor Plan Creator
- Autodesk SketchBook
These softwares are described in detail in the YouTube channel named ‘InspirationTuts CAD’ in the video below:
Steps to make a virtual 3d house in SketchUp
Apart from all the above software, the most widely used 3D modelling software is SketchUp. This software is very easy to use and design almost anything from scratch. This very reason made this popular among architects and 3D visualisers. In SketchUp you can have ready elements in the warehouse, but that too is made by persons like us. SketchUp has gained its popularity because of its 100% customisable features.
Here are the 10 best steps to make a virtual 3d house in SketchUp.
Step 1- Import 2D house plans: If you are using SketchUp Pro, you can import the 2D DWG file to make a virtual 3D house in SketchUp. Go to the file menu at the top of the menubar and then press import. Select the CAD file from your folder.
Step 2- Draw walls accurately: once the import is done, the file will be visible in the flat plane in the SketchUp interface. Now draw the walls using the line tool or the rectangle tool. Once the flat plane is done, then use the push/pull tool to extend the walls to their desired height.
Step 3- Make Groups ASAP (and Often): Remember to make particular groups of any elements, like walls, floors, and roofs, so that it can be edited easily further without harming other elements. Also, making groups frequently will ease the work process and keep you hassle-free.
Step 4- Edit Groups to Add Detail: Now you have the required broad groups. You are now free to edit each of the groups to add small details. Add the openings on the wall using rectangular and push/pull tools. Place the doors and windows at the specific positions.
See the video below from the SketchUp School channel on YouTube:
Step 5- Stay Organized with Tags: To keep organizing the elements, add tags to the individual group of elements. Now go to Tag from the menu panel and press the plus symbol to add a new tag. Double-click on the name and add a new tag, say ‘wall.’. Now press enter to create and close it.
Now to add the particular group to this tag, right-click on the group and select the ‘entity info.’. The status of the tag you see is untagged. Click that untagged option and then assign it to the ‘wall’ tag. Now your group is assigned to a tag called ‘wall.’. Now repeat this process for the other groups to add tags. Organising into tags will help you edit the certain elements hiding the tagged elements in just one click.
Step 6- Use Components: Making and using components is another super cool feature that makes it easy to make the model. Suppose you made an element and used it in multiple areas. But you need to make a change in that group at any point. But you have to make that change to all copies as well. This will consume a lot of time and energy. The component features here are to help you in this particular situation. You make a component of a group and make as many copies as you want, but when you need a change in that group, you just edit one component, and it will make the change automatically to all the copies.
Step 7: Learn to Edit Existing 3D Shapes: You may require, in some points, to edit existing 3D shapes. Edit the shapes as described in the video. You can edit or alter the 3D shapes how you want.
Step 8: Use Pre-Made Components from the 3D Warehouse: As I mentioned earlier, Sketchup is one of the 3D modelling software programs where you can build any furniture or decorative elements for both interior and exterior from scratch. But you don’t always need to do it. There are tons of models in the 3D warehouse waiting for you to help. The model creators are working hard to keep the professionals hassle-free and help save their time. You can download and add pre-made models and components to decorate your model. Go to the warehouse tab from the menu panel and search for your desired model. Download it and place it in the right place.
Step 9- Add Colors & Materials: Now add the required colors and material texture from the color bucket tab. As you will see the premade components will already have the textures. But you can edit the textures according to your choice and requirements. But the main model that you are working on needs to be added with color and textures.Also place the nice render equipment that complements your model.
Step 10- Create a Final Rendering: You have put all the elements that you need following the steps. Now it’s time to export a nicely rendered image of your virtual 3D house model. Navigate and freeze a nice angle of view. You can export it to many styles. Click the style button from the menu, and you will see a bunch of styles from colored, textured, or sketchy to many more. Choose the style that you prefer. You can also make the shadow effect by enabling the shadow on. Now save it as a new scene and export it from the top left corner of the menu bar.
You can also make it render with the high-quality render engines like V-ray or Lumion.
End Thoughts
Making a virtual 3D house in SketchUp is an exciting and rewarding process that brings your dream home to life before your very eyes. From importing 2D plans to adding detailed textures and final renderings, you can create a fully realistic-looking model of your home. The ease of use and customizable features in SketchUp make it a popular choice for both professionals and homeowners. With the help of additional tools and components, you can streamline your design process and produce a stunning, realistic visualization of your ideal house spaces. Whether you’re an architect or simply someone with a vision for your future home, SketchUp offers a powerful platform to turn your ideas into a virtual reality.