How to change bathroom wall tiles? It’s an obvious query to know to keep your bathroom nice and up-to-date. Because a bathroom is one of the most vital sections of the house which makes us more neat and hygienic. In this article, you are going to know the exact step by step process of replacing bathroom tiles. At the end of the article get some exclusive tips!

Table of Contents
How to change bathroom wall tiles? The ultimate process explained
Step 1- Removing Plumbing Fixtures
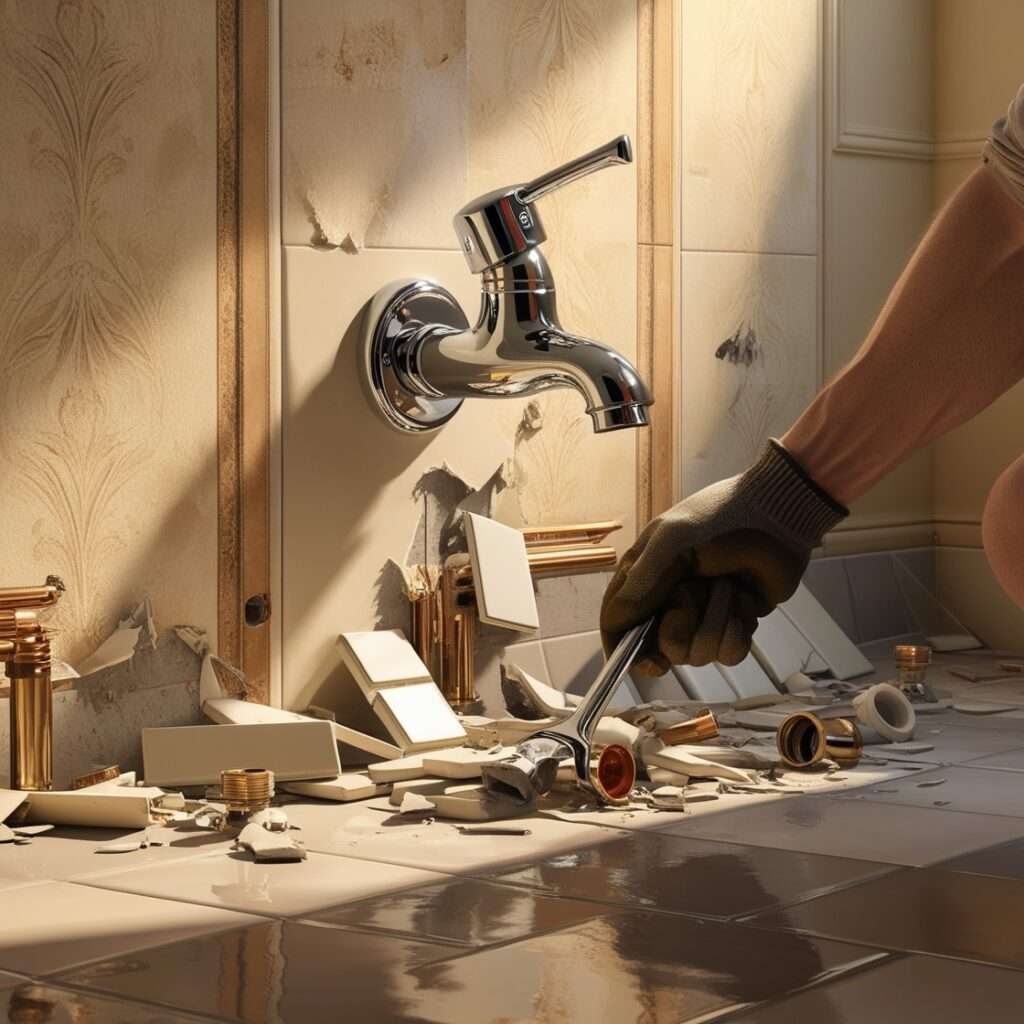
The very first step is to remove the existing plumbing fittings like water tap, shower head etc. This is the obvious step to keep these fittings safe or to install new. Unscrew them nicely and keep them aside or put any safe place to use later.
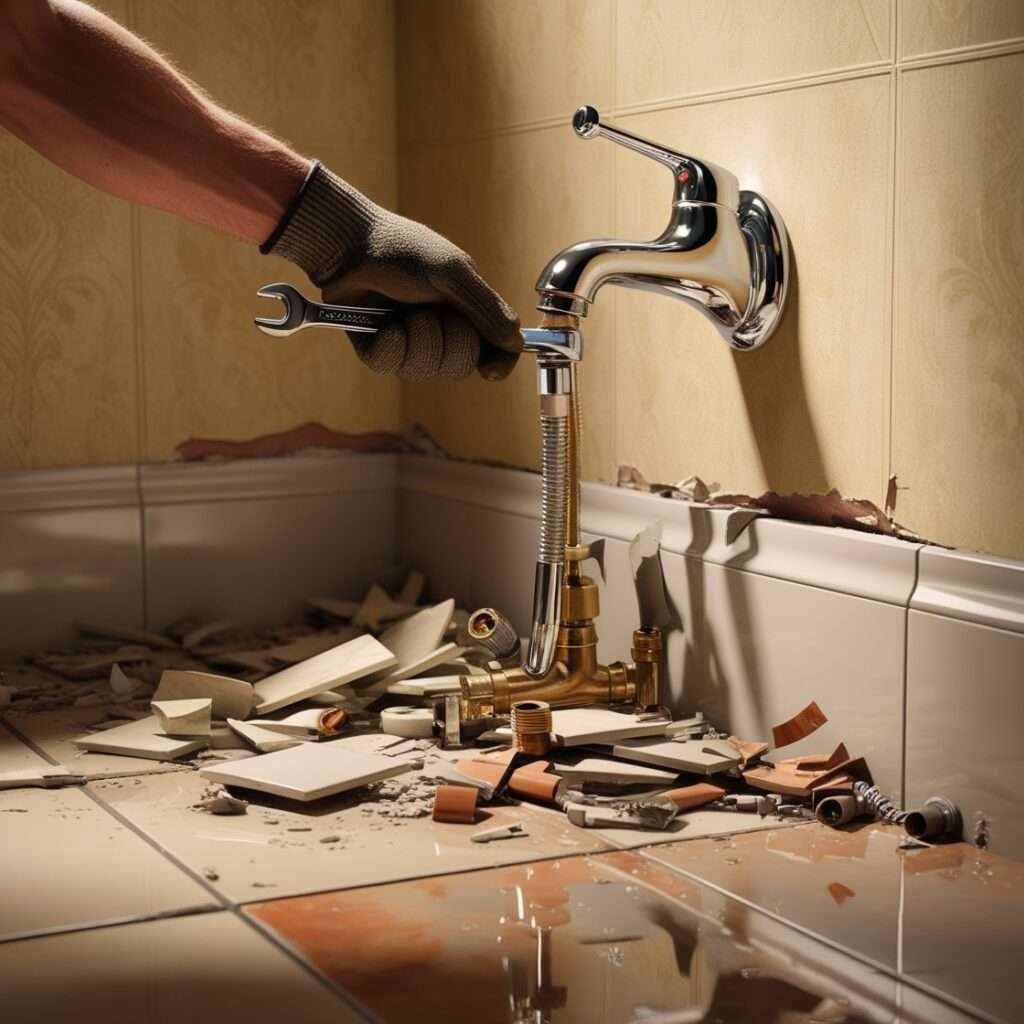
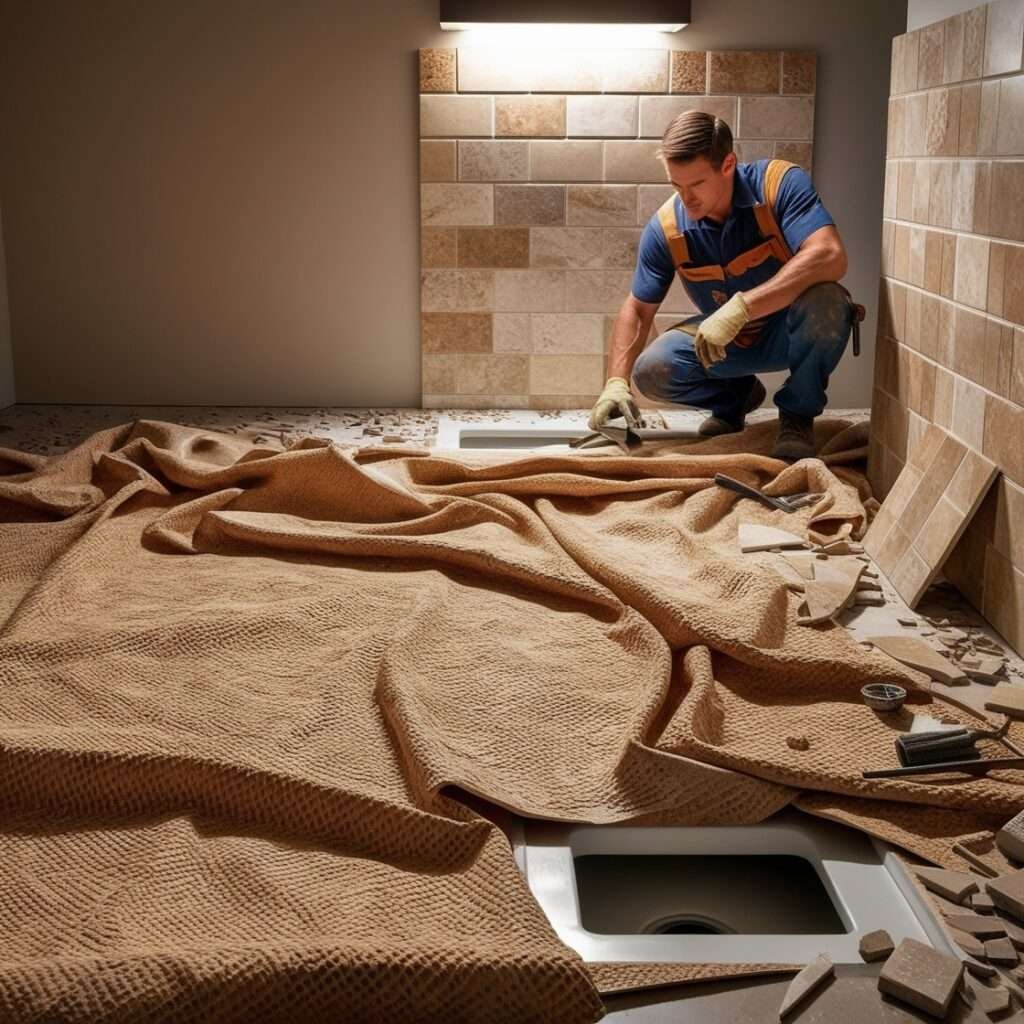
Step 2- Cover the workspace and drain traps to prevent damage
Cover the whole floor of the bathroom along with the water traps so that any unwanted damages occur or any particles to be dropped through.Cover the space with a nice clean cloth.It will be best if this is water proof.
Step 3 – Remove grout around the tiles
Remove the grout around the tiles carefully with a solid and strong grout remover. You need to be careful that the corners of the tiles are fine, in case you want to use them anywhere else.

Step 4 – Remove the tiles
Pry the tiles off from the wall by a hammer and a flat chisel.Now try here to pull off whole pieces as many as possible if you want to use them anywhere else.In many countries these pieces are resold for many purposes.
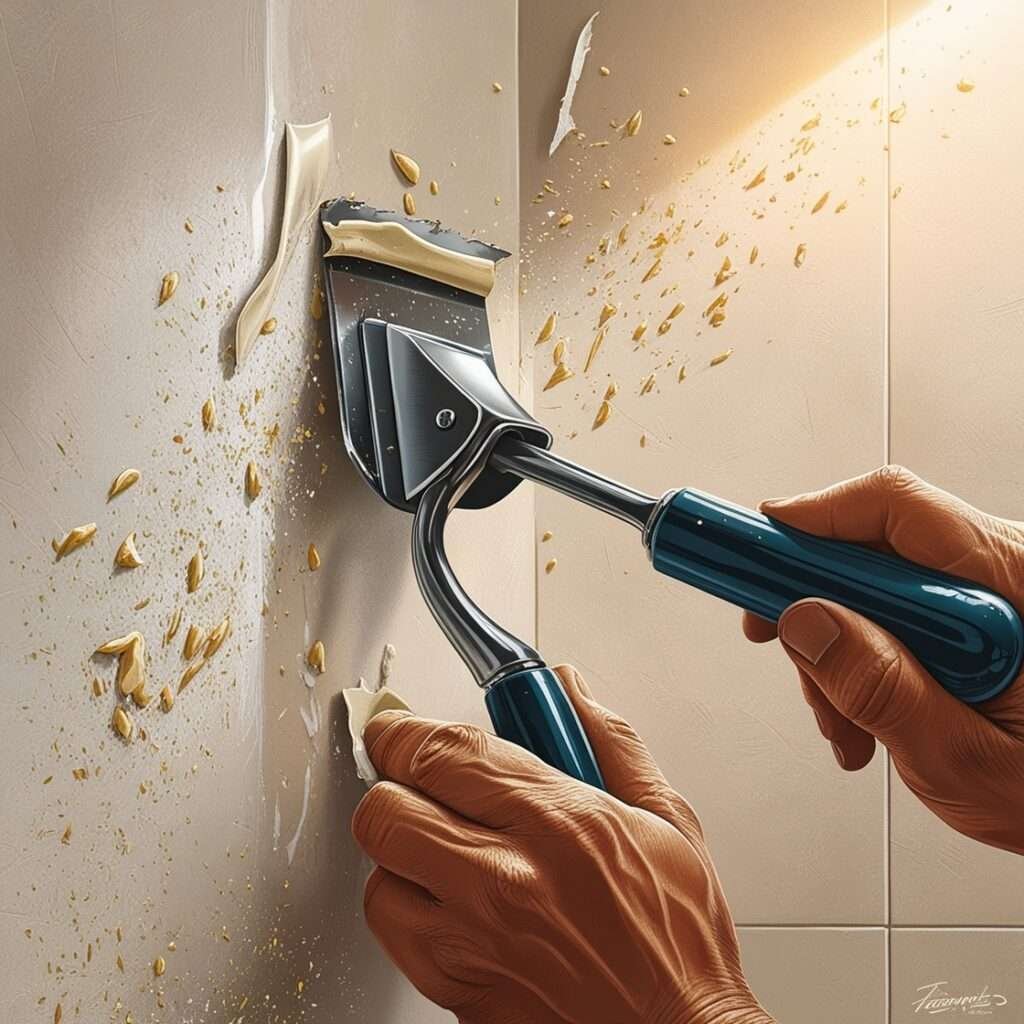
Step 5 – Scraping off the Adhesive
You have now removed all the tiles. Now check if there are any leftover adhesive and scrape them off with a metal scraper. Be careful about the main wall, behind the adhesive. Not to have any damage during the scrape off process, especially the concealed water supply pipes.
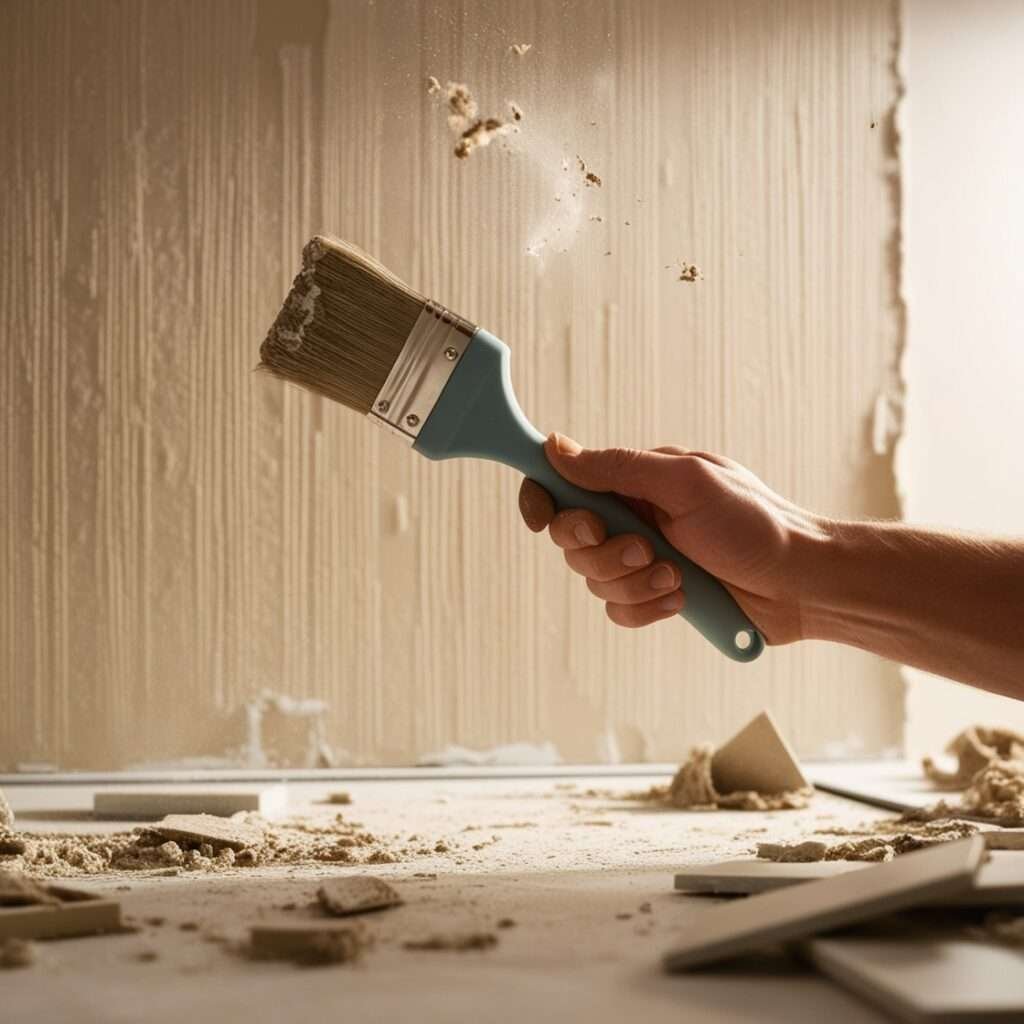
Step 6 – Clean up the Wall
You have now scraped off all the adhesive. Now brush the whole wall to remove all the disturbing adhesive or mortar particles. Clean it with a fine brush. You can apply clean water if the wall is made of brick. Don’t use water to clean if the wall is wooden or a stud wall.It is very important to clean the wall to have fresh surface for new application.
Step 7 – Measure Wall and Prepare the Tile Layout
Measure the all wall surfaces and calculate the SQ FT or SQM of the surfaces.Then calculate the SQFT/SQM of one tile. Then divide the wall SQM/SQFT by it. You will have the required number of the tils.Here is the equation given below.
( Length of the wall x Height of the wall = wall surface sqm/sqft )
(8 feet x 5 feet = 40 sq ft )
(wall surface sqm/sqft) ÷ (The sqft/sqm of one tile) = required number of tiles)
(40 sq ft ÷ 0.88 sqft = 45.5 or 46)
Now you know the number of tiles required.now draw a plan of the wall surface and place the pieces of tiles (dimension) on the paper. Now you can understand how many intact tiles can be placed without removing any part.This will help you to buy the required number of extra tiles you would need.
Step 8 – Installing the Tiles
Place a thin layer of mortar or adhesive on the wall with a square notch trowel.Push the tiles on to the layer so that the mortar can hold the tiles tight. Reversely you can spread the mortar at the back of the tiles and push them onto the wall to hold tight. Remember to start the work from the bottom part of a wall to avoid damage or dropping the tile and mortar.
Step 9 – Input Spacers
Now place the other tiles one after another and keep placing the ‘spacers’ between them to get a uniform space between two lines of tiles.
Step 10 – Apply Grout
You have now finished placing the tiles on to the wall. Now wait at least 24 hours and then apply the grout around the new tiles. After finishing that wipe off neatly the extra grout spread into the tiles.
Step 11 – Reinstall the Plumbing features
Now reinstall the plumbing fixtures that you unscrewed previously and your bathroom is all set.
Some exclusive tips For Tiles Installation
- Make the necessary holes at the right point for the plumbing materials. Take the right measurements before placing the particular tiles.
Curing the tiles by drowning them into clean drinkable water. This will avoid having crack on the tiles after a few days of installation.
- Use the bathroom after 3-5 days from the completion of full work.

